
Getting started

6 simple steps to get you started.

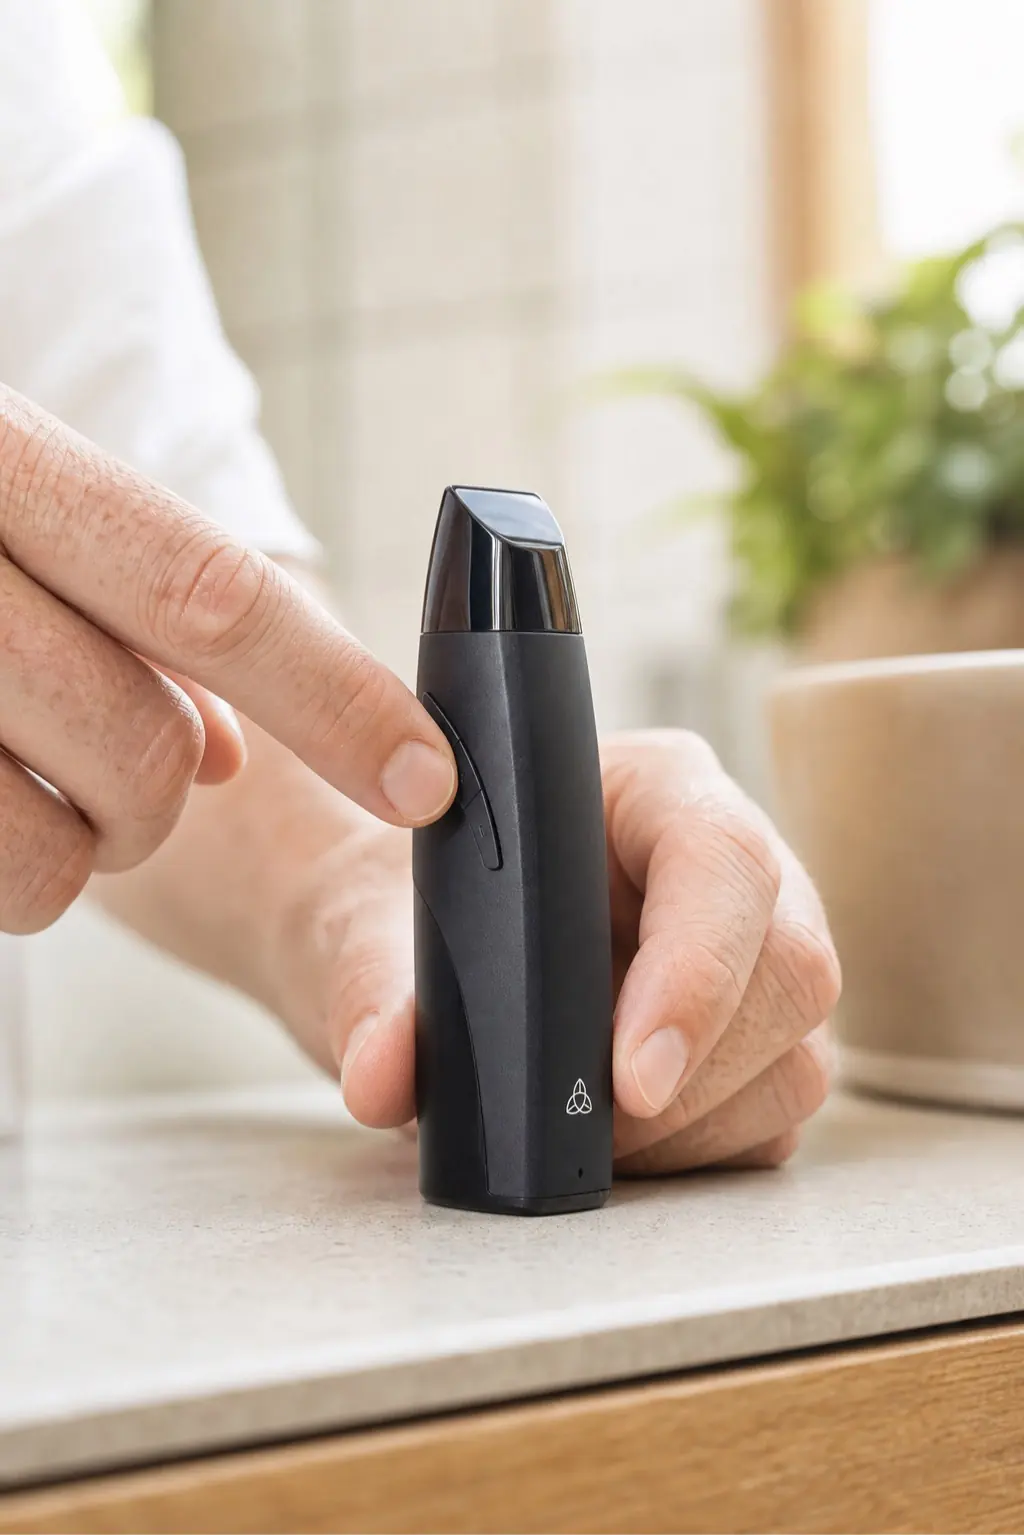
Grenco Medical Elite II device standing upright.

Know your device

A visual guide to using your device.

1

Register

  • Register your device online at GrencoMedical.com/Register.
2

Charge

  • Use included USB-C cable.
  • Charge fully before first use.
3

Load

  • Remove mouthpiece.
  • Fill chamber with ground material.
  • Re-attach mouthpiece.
  • Pack with pick tool (do not overpack).
4

Activate

  • Hold for 3 seconds to power on / off.
  • Use + / – to set desired temperature.
  • Tap 2X to begin / cancel a heat session.
  • Green LED on — inhale from mouthpiece.
  • Tap 5X to access device settings menu.
5

Wait

  • Wait 30 seconds after device vibrates before inhaling.
6

Inhale

  • Inhale directly from the mouthpiece.
  • For best results take long and sustained draws.

Quick recap

  • Register your device
  • Charge fully before first use
  • Do not overpack
  • Wait 30 seconds after vibration
  • Take long, sustained draws
  • Clean screen and chamber after every use

Temperature guide

Recommended range:
180°C – 210°C

Your device can be set between 93°C and 221°C. A suggested range is 180–210°C.

Always follow the temperature guidance provided by your prescribing healthcare professional.
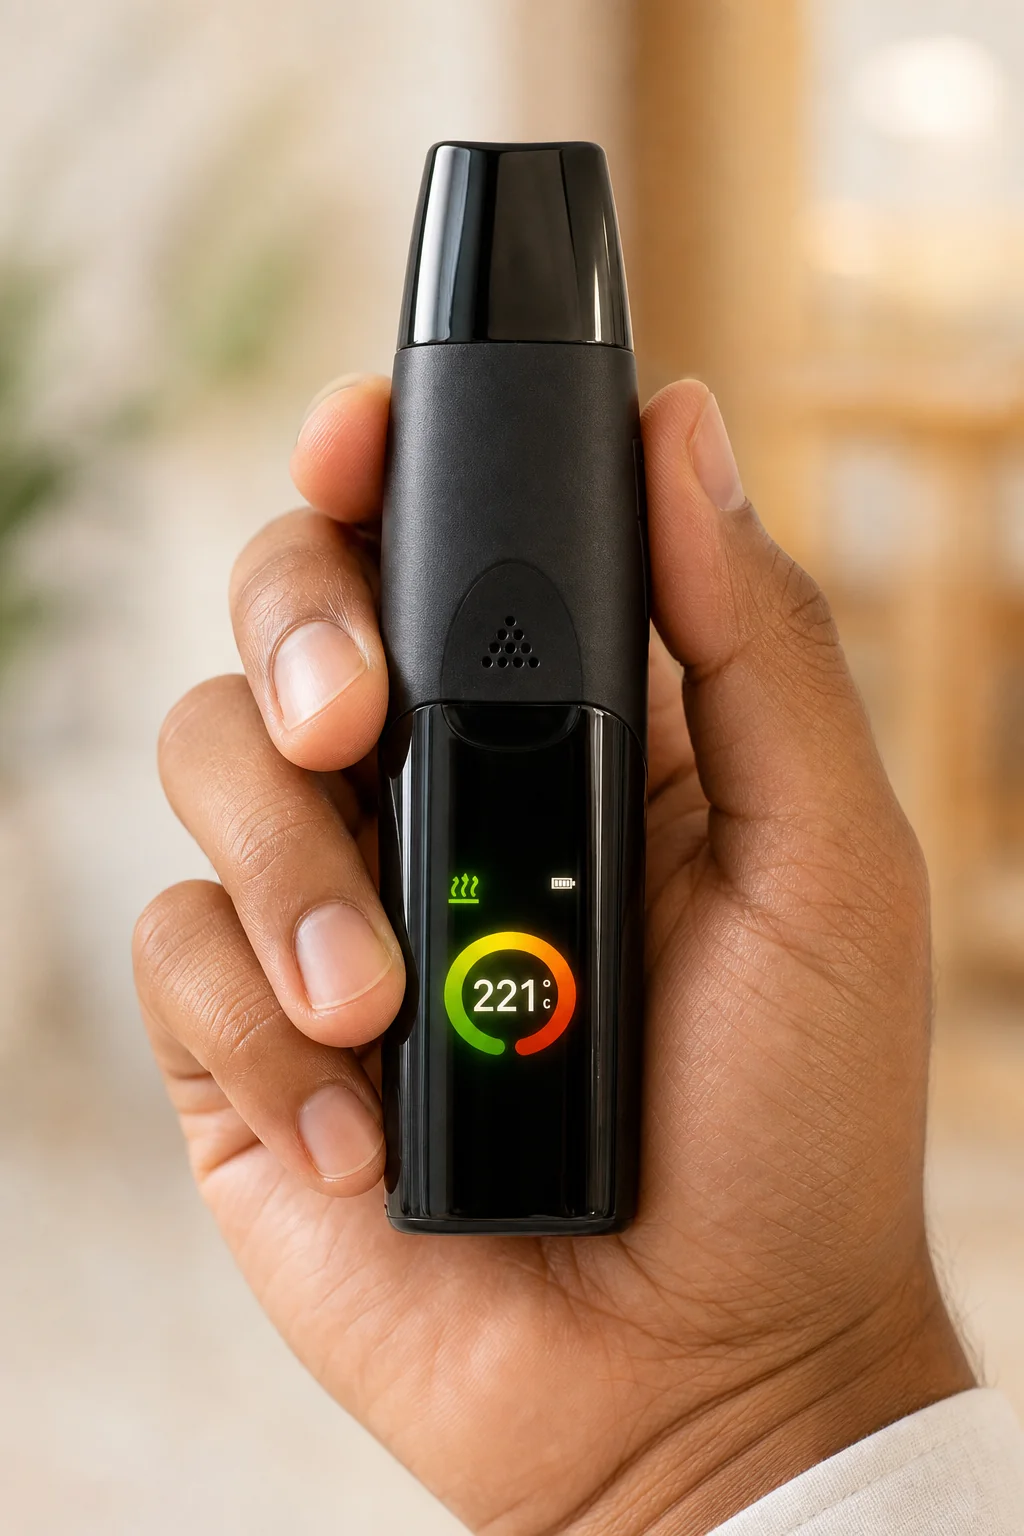
A hand holding the Grenco Medical Elite II showing 221°C on the temperature dial.

What to expect

  • Typical usage time is 3-5 minutes.
  • The device will automatically turn off if no inhalation is detected for 60 seconds.
  • You will know the material is completely used when the vapour becomes thin and the taste changes.

Device guidance

Watch the video guides

Use these videos alongside the Instructions for Use and your healthcare professional's guidance.

Getting started

How to use your device

A quick visual walkthrough for basic handling and getting oriented with the Elite II.

Care & cleaning

How to clean your device

A short cleaning guide to support consistent performance between uses.

Practical Tips

Get the best from your device

Follow these four steps for the best experience from your Elite II.

Step 1

Prepare your flower

  • Grind your prescribed cannabis flower to a medium consistency — not too fine, not too coarse.
  • A medium grind allows air to flow evenly through the chamber.
Step 2

Load the chamber

  • Remove the mouthpiece by pulling it straight up.
  • Fill the heating chamber. Do not pack it too tightly.
  • Put the mouthpiece back into place (it will click in).
Step 3

Power on and set your temperature

  • Press and hold the power button for 3 seconds to turn the device on.
  • Use the + and – buttons to set your temperature.
  • Your prescribing doctor may have recommended a specific temperature. If not, a recommended range is 180–210°C.
Step 4

Start heating

  • Double-click the power button to start heating.
  • The device will vibrate when it reaches your set temperature.
  • Allow approximately 30 seconds after it vibrates for the flower to heat, then the device is ready to use.
  • Inhale slowly and steadily from the mouthpiece.

Keeping Your Device in Top Condition

A little care goes a long way.

A clean device works more efficiently, tastes better, and lasts longer. Here's a simple routine to follow.

After use

  • Allow the device to cool fully (around 5 minutes).
  • Remove the mouthpiece by pulling it straight up.
  • Use the pick tool to remove any left-over material from the chamber.
  • Tip the device upside down and gently tap to release any remaining residue.

Weekly clean

  • Lightly dampen a cotton swab with isopropyl alcohol (squeeze out excess first).
  • Gently wipe the chamber walls and mouthpiece area.
  • For a deeper clean, remove the screen and spiral ceramic air path from the mouthpiece and soak in isopropyl alcohol.
  • Rinse parts with water and allow them to dry completely before reassembling.
  • Wipe the exterior with a clean, dry cloth. A slightly damp cloth may be used if needed.

What NOT to do

  • Do not submerge the device in water or any other liquid.
  • Do not use water, or abrasive materials inside the heating chamber.
  • Do not attempt to open or disassemble the device body.
  • Do not clean the device while it is powered on or charging.

Understanding Your Device

Know your device.

A quick guide to the parts you’ll use most.
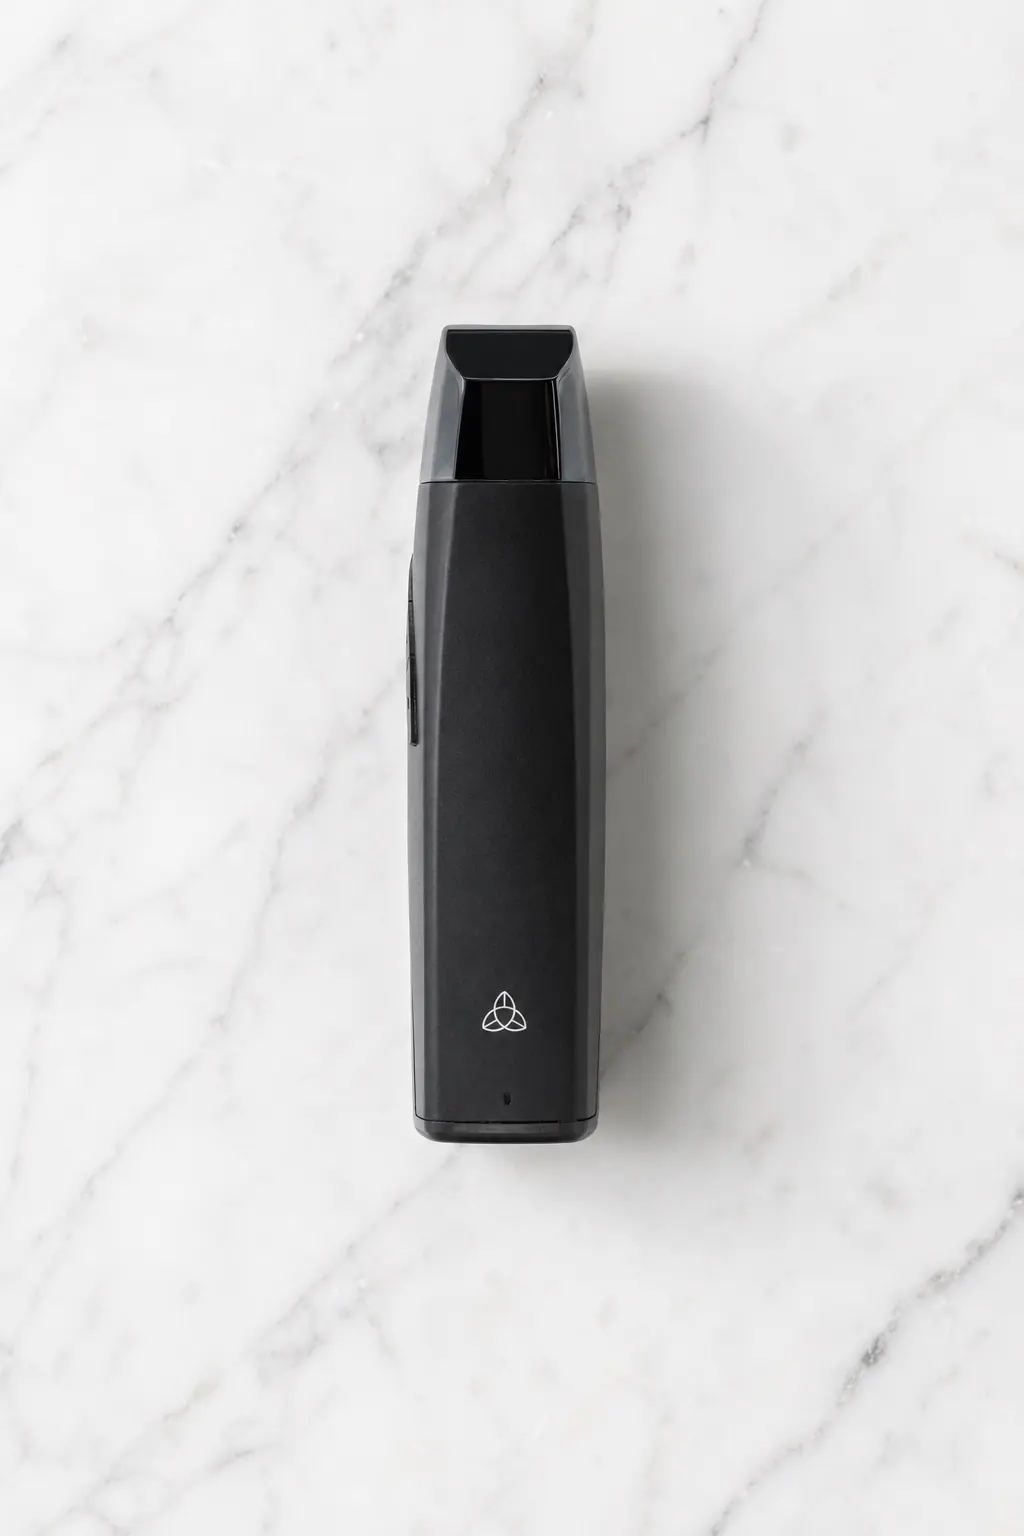
Close-up photo of the Grenco Medical Elite II device.
  1. Display screen Shows temperature, battery level, and device settings.
  2. Power button Hold 3 seconds to turn on/off. Double-click to start heating.
  3. + and – buttons Adjust your temperature.
  4. Indicator LED Turns green when the device is ready to use.
  5. USB-C port For charging only. Use the supplied cable.
  6. Clean air intake Keep this area clear during use.
  7. Mouthpiece Pull straight up to remove. Remove for loading, emptying, and cleaning.
  8. Mouthpiece screen Small mesh filter inside the mouthpiece. Check weekly, replace if clogged.
  9. Spiral ceramic air path Cools the vapour. Remove for deep cleaning (see Card 3).
  10. Heating chamber Where you load your flower. Clear after use.
  11. Pick tool Stored in the base of the device. Use to pack, stir, and clear the chamber.

Important to keep in mind when charging

  • Only use the supplied USB-C cable with a certified 5-volt adapter.
  • Do not use fast-charging adapters or chargers that exceed the device specifications.
  • Charge on a hard, non-flammable surface, away from blankets and clothing.

Support, Registration & Warranty

We're here when you need us.

Registering your Grenco Medical Elite II activates your warranty and allows us to contact you in the unlikely event of a safety notice or update.

Mood State Medical — Australian support

  • Phone: +61 1300 069 385
  • Email: support@moodstatemedical.au
  • Web: moodstatemedical.au
  • Hours: Monday – Friday 9:00am – 4:00pm